Mindblown: a blog about philosophy.
-
Cập nhật mới nhất lịch thi đấu Champion League 2023-24
Champion League 2023-24 hay còn gọi là cúp C1 đang bước vào lịch thi đấu tứ kết sau vòng loại kịch tính. Vậy lịch thi đấu Champion League 2023-24 trong thời gian tới như thế nào để người hâm mộ lên lịch theo dõi live tại Socolive? Mời các bạn quan tâm cập nhật ngay…
-
Cập nhật chi tiết bảng xếp hạng Serie A mùa giải 2023-24
Serie A 2023-24 đã bước sang vòng đấu thứ 31, các đội bóng đã ghi được cho mình số điểm kha khá và có được chỗ đứng nhất định trên BXH. Vậy, sau 31 trận đấu đã qua, bảng xếp hạng Serie A 2023-24 có sự thay đổi như thế nào? Mời bạn đọc cùng…
-
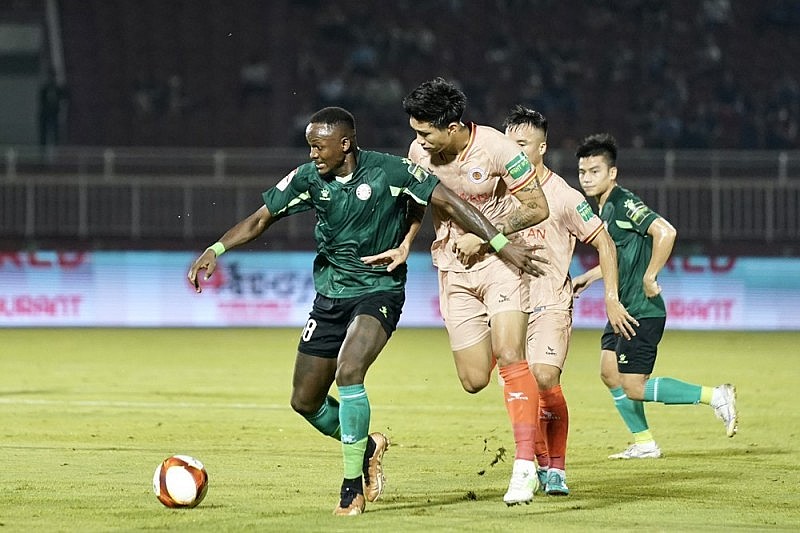
Cập nhật bảng xếp hạng V.League sau 15 vòng đấu đã qua
Nội dung bài viết hôm nay của kênh Socolive TV sẽ cập nhật chi tiết bảng xếp hạng V.League 2023-24 sau 15 vòng đấu đã qua. Mùa giải năm nay, các đội bóng mạnh, không còn giữ được phong độ ổn định, dẫn chứng là vị trí top đầu của V.League ở thời điểm hiện…
-
Cập nhật bảng xếp hạng Bundesliga mới nhất sau 28 vòng đấu
Bảng xếp hạng Bundesliga 2023-24 hiện đã bước sang vòng đấu thứ 28. Vị trí top đầu và top cuối đang dẫn xác định các đội bóng. Người hâm mộ hãy cùng với trang Socolive TV cập nhật cụ thể nhất ngay dưới phạm vi bài viết sau để được nắm rõ. Bảng xếp hạng…
-
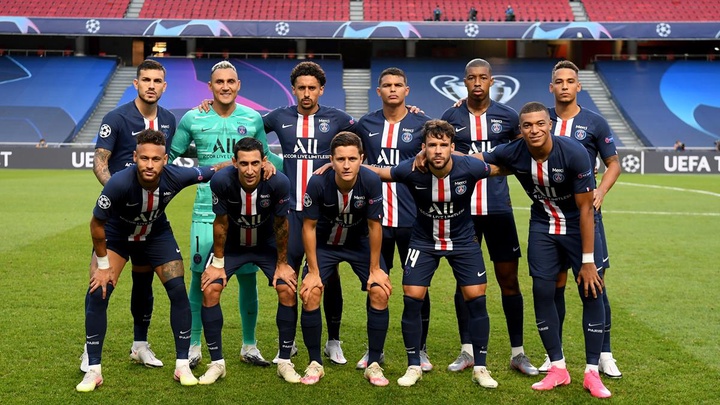
Tìm hiểu đội hình PSG trong mùa giải 2023-24 cùng Socolive TV
PSG là câu lạc bộ mạnh với số lượng fan ủng hộ top đầu thị trường bóng đá châu Âu nói riêng và thế giới nói chung. Vậy, đội hình PSG trong mùa giải 2023-24 có những điều chỉnh nào thú vị? Mời người hâm mộ cùng với chuyên gia bóng đá Socolive TV điểm…
-
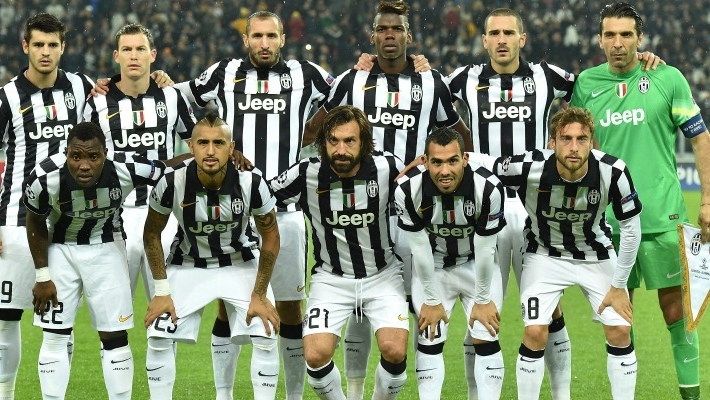
Tìm hiểu đội hình Juventus trong mùa giải bóng đá 2023-24
Đội hình Juventus trong mùa giải bóng đá 2023-24 luôn nhận được sự quan tâm lớn của người hâm mộ đội bóng này. Vậy nên, phạm vi bài viết hôm nay, kênh Socolive TV sẽ cùng với các bạn cập nhật đầy đủ và chính xác nhất đội hình nhân sự của câu lạc bộ…
-
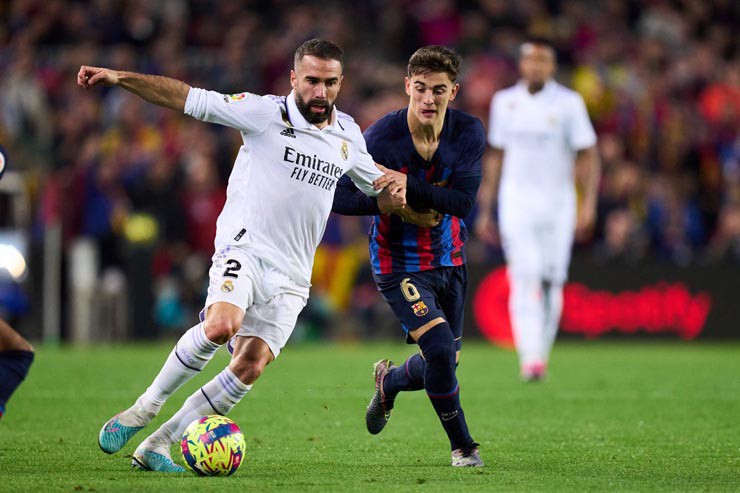
Tổng hợp các loại kèo La Liga phổ biến nhất hiện nay
Các loại kèo La Liga được nhiều người chơi soi kèo bóng đá chuyên nghiệp quan tâm. Bởi đây là giải bóng đá chuyên nghiệp, có quy mô khủng trên thế giới. Chi tiết các loại kèo này sẽ được chuyên gia Socolive TV cập nhật ngay dưới bài viết này. Sơ lược đôi nét…
-
Bật mí kinh nghiệm cá cược Ngoại hạng Anh chuẩn từ chuyên gia
Cá cược Ngoại hạng Anh tại các nhà cái đều trở nên sôi động mỗi lần mùa giải bóng đá chuyên nghiệp này khởi tranh. Vậy, làm thế nào để người chơi có thể tự tin cá cược Premier League thắng trong mỗi lần soi kèo của mình? Chuyên gia bóng đá của Socolive sẽ…
-
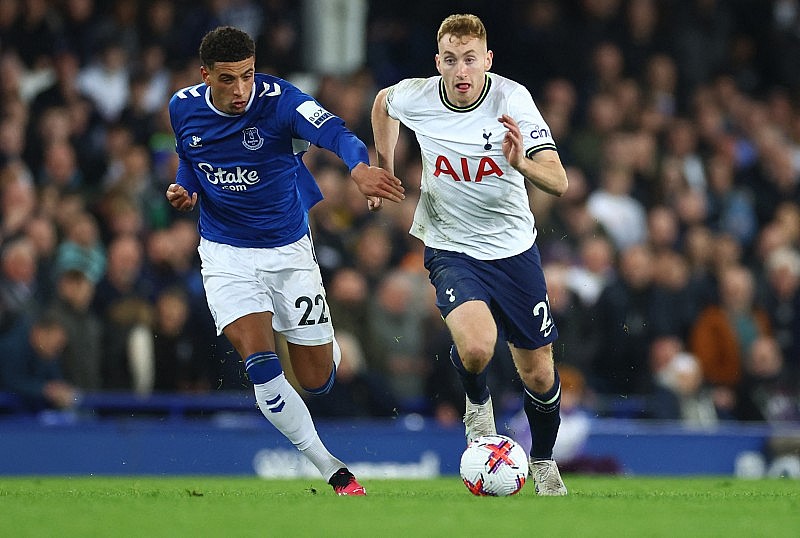
Lịch thi đấu Tottenham mới nhất tháng 4 và tháng 5/2024
Nội dung bài viết dưới đây, kênh Socolive TV sẽ cập nhật chi tiết nhất lịch thi đấu Tottenham trong tháng 4 và tháng 5/2024. Đồng thời tổng hợp thêm thành tích thi đấu của đội bóng này trong thời gian gần đây để các bạn theo dõi câu lạc bộ Tottenham được nắm rõ.…
-
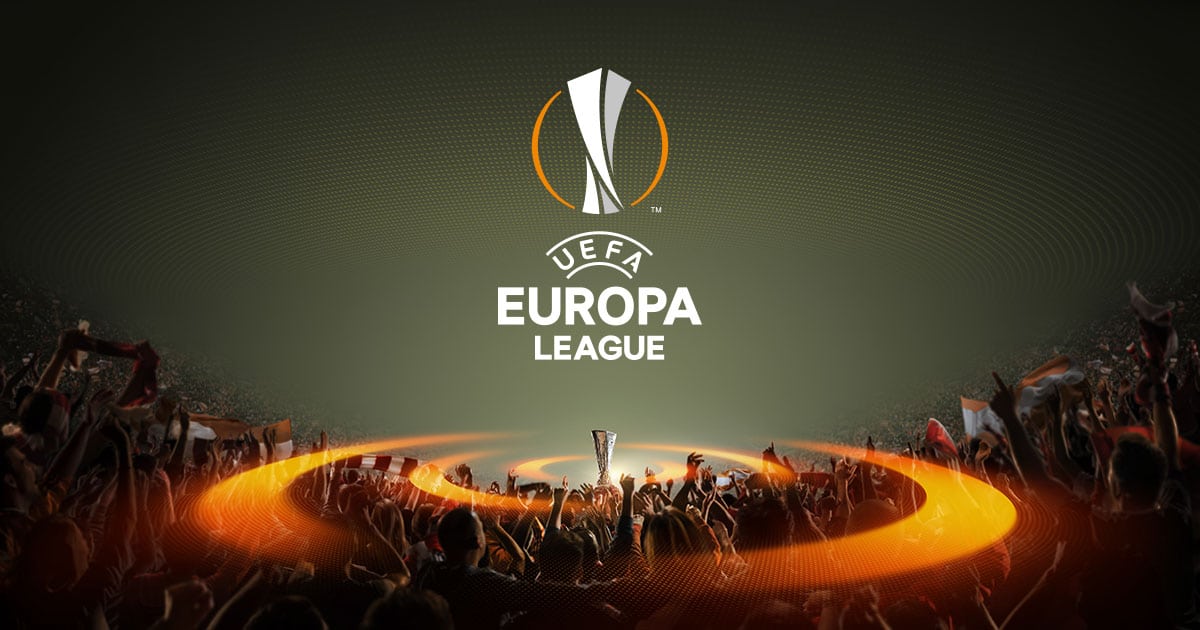
Cập nhật bảng xếp hạng Europa League 2023-24 tại các bảng đấu
Mùa giải Europa League 2023-24 đã hoàn thành xong 6 trận đấu tại mỗi bảng đấu. Ban tổ chức đã xác định được các đội bóng ở vị trí thứ nhất và nhì bảng đấu. Dưới đây, Socolive TV sẽ cập nhật chi tiết thành tích bảng xếp hạng Europa League của các đội sau…
Got any book recommendations?